Configure Board Settings
Configure the settings for your board, including permissions, notification settings, theme, localization, and more.
For other settings, see Manage Modules and Manage Users.
General
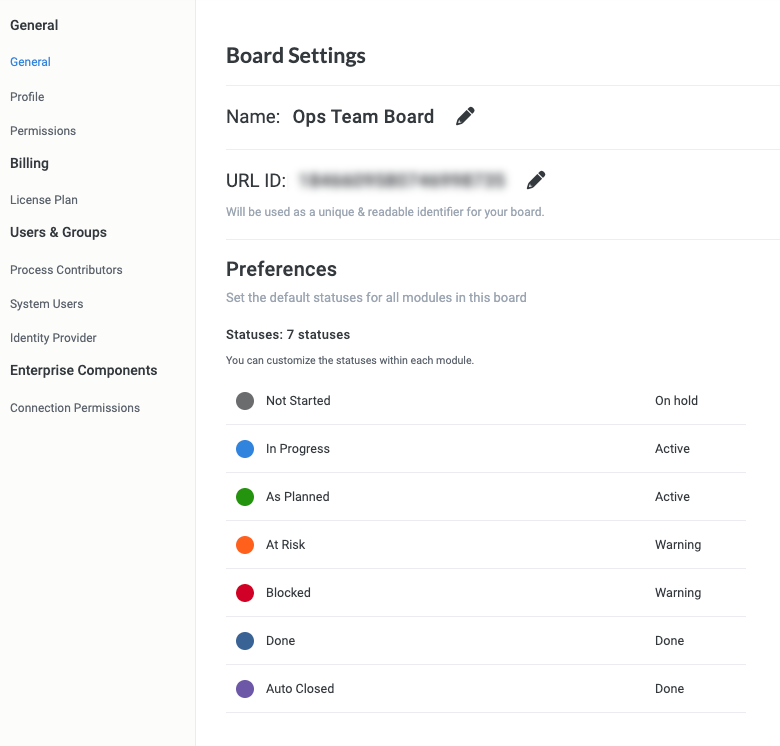
On the Board Settings | General screen, you can configure the following options:
Name - The board name, visible to all users.
URL ID - The unique identifier for your board, used both within your organization in the uncommon scenario where you have multiple boards, and by Tonkean Support and Solution Services.
Profile
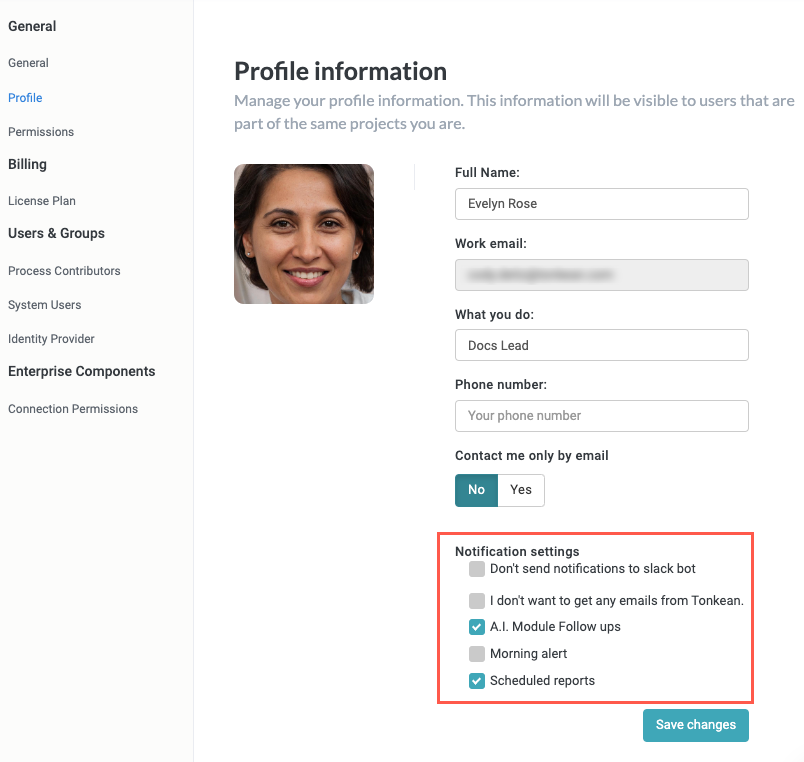
On the Board Settings | Profile screen, manage your user profile, including your name, work email, module contact preferences, and notification settings.
Notification Settings
Configure your notification settings to control the updates you receive.
Delivery channel - Select where you receive system notifications by default:
Default communication channel - Receive system notifications by the default communication channel set by your admin. This may be email or a chat app like Slack.
Only Email - Only receive system notifications by email.
Unsubscribe from all notifications - Do not receive any notifications from Tonkean.
Workflow notifications - Select where you receive workflow notifications (for example, notifications for reviewing or approving requests):
Receive workflow notification to Tonkean Slack App - Receive notifications from the Tonkean Slack App in your Slack instance (the sender is "Tonkean").
Receive workflow notification to the Slack Bot - Receive notifications from the default Slack Bot.
If you don't have Slack connected to your Tonkean instance, these settings are ignored.
Scheduled notifications - Configure your scheduled and recurring notifications:
Morning alerts - Receive a daily summary of important events through your chosen delivery channel.
Scheduled reports - Receive period reports through your chosen delivery method.
Locale - Set your locale, determining your language, region, and date/time format for localization purposes.
Permissions
On the Board Settings | Permissions screen, you can set board admins, access for Tonkean Support, and control who can publish solutions.
Administrators
Board admins play an important part in implementing and maintaining your organization's security and permissions policies in Tonkean. Board admins have a variety of powers:
Manage users and assign roles
Connect and configure identity providers
Set board-level data source connection rules
Set publishing and invitation policies
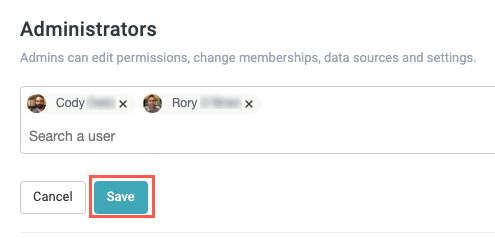
To add or edit board admins, follow the steps below:
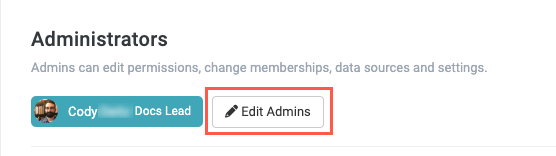
Select Edit Admins to add or remove board admins.
Search for board users to add as board admins or select the x on the relevant user to remove a user's board admin role.
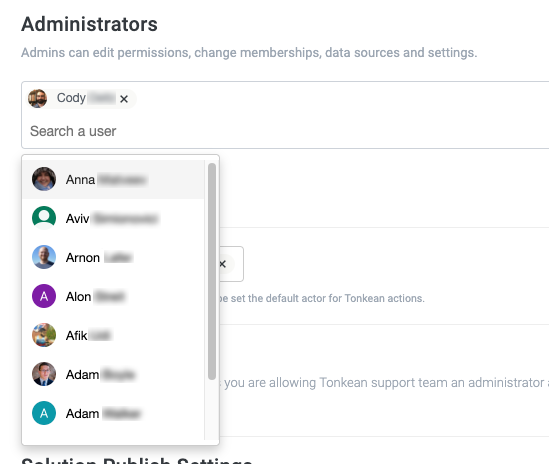
When finished, select Save.
Set Default Actor
The default actor is automatically assigned as the user responsible for creating the module item and for the actions in the module. For example, if you set the Updater to Default actor in an Update Field action, that user displays as the one who performed the action in the relevant business report and logs.
The default actor is automatically set to the module creator.

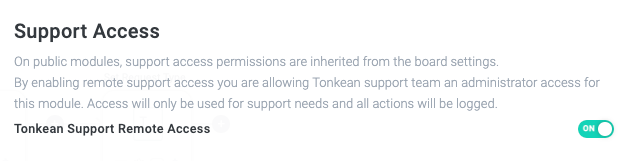
Enable Support Access
Enable support remote access to allow Tonkean support to view and edit the module for support and troubleshooting needs. All actions and changes performed by support are logged.
For modules whose permissions are not set to Private, the support access setting is inherited from the board settings. To configure support access in the board settings, select your profile icon in the upper right and select Board Settings. Select Permissions in the sidenav and then enable or disable the support access as needed.
Configure Solution Publish Settings
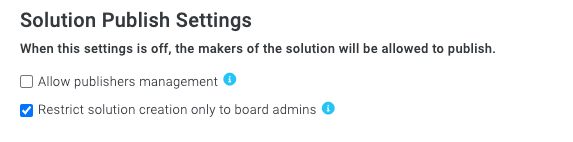
By default, any maker with access to a solution can publish that solution. Configure the provided checkboxes to restrict who can publish a solution:
Admin controls who can publish - Enable additional options for managing who can publish a solution. By default, this option is disabled, allowing any maker to publish solutions. Enabling this option requires you to specify which users can publish solutions by selecting the settings button on the Solutions Studio screen,
 , then navigating to Manage Publishers and adding publishers.
Restrict solution creation only to board admins - Restrict who can create a new solution exclusively to board admins.
Set Invite Settings
Enable this option to allow users to set owners and collaborators outside of their board. Once enabled, these outside users are invited to the board and given access to any public modules.

Theme
On the Board Settings | Theme screen, you can set a company logo, homepage background image, and brand colors. You can also set global colors to set a brand-aligned color palette.
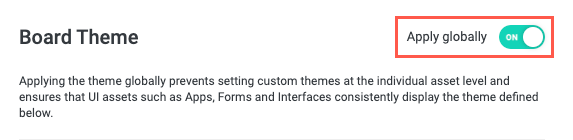
Once these elements are set, you can apply this theme globally for your entire board, ensuring a consistent look and feel across all your solutions. Enabling this global theme replaces any custom themes set at the level of individual workspace apps, forms, or interfaces, and prevents makers from setting custom themes.
To enable the board-level global theme, select the Apply globally toggle.
To configure your board theme, follow the steps below. As you make changes to your theme, view the Preview Theme panel on the right and select the different platform areas to see how the theme colors and elements display.
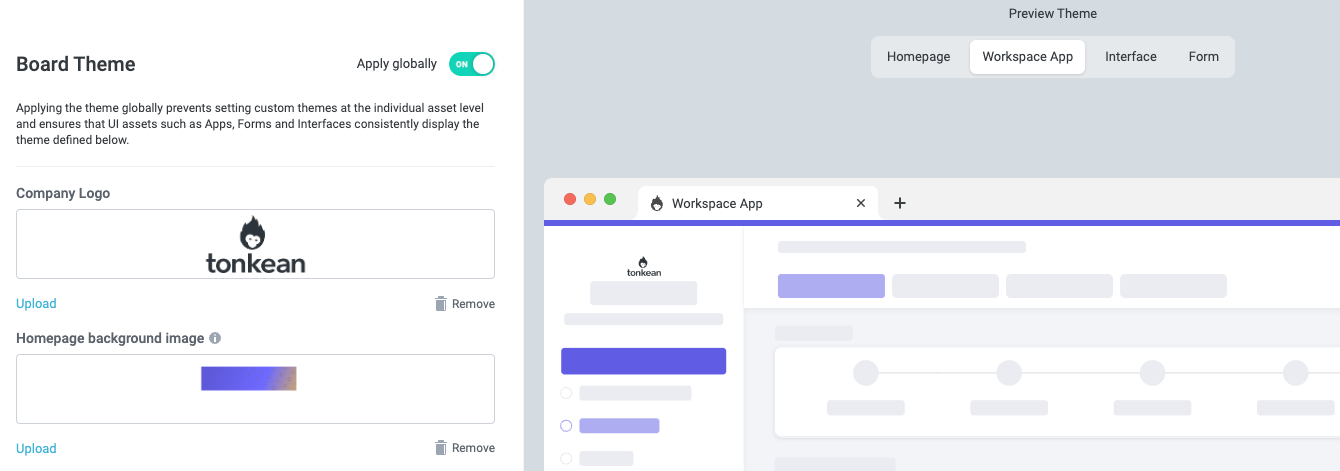
All settings are optional.
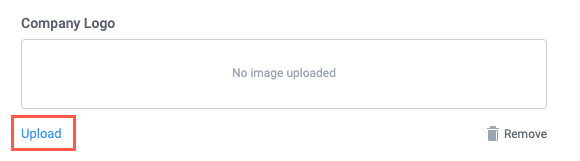
To upload a company logo, select Upload. The Upload Image window displays.
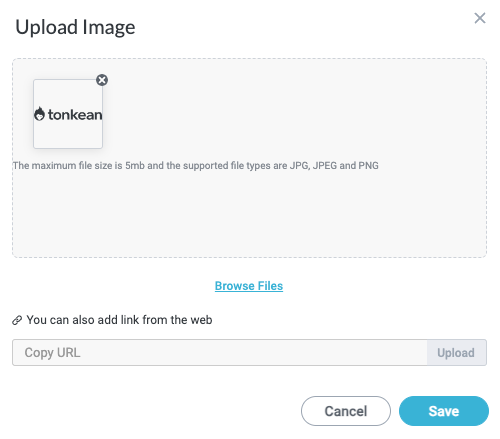
Select Browse Files to select an image from your local machine or paste in a web link, then select Save.
The maximum file size is 5mb and the supported file types are JPG, JPEG, and PNG.
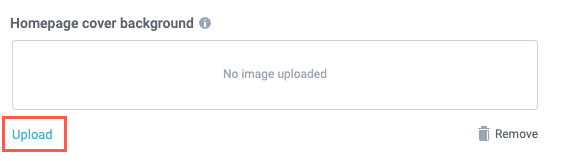
To upload a homepage cover background image, select Upload. The Upload Image window displays.
Select Browse Files to select an image from your local machine or paste in a web link, then select Save.
Select an image with a 10:3 ratio; we recommend an image that's 1000 x 310px
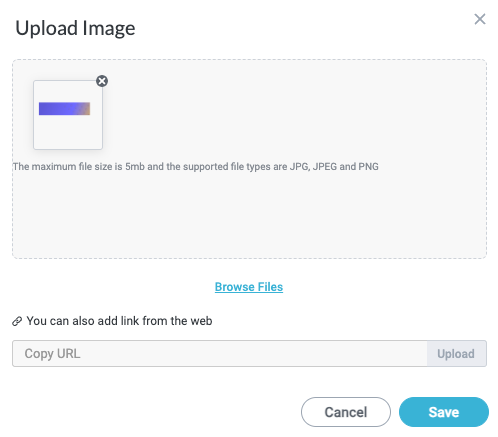
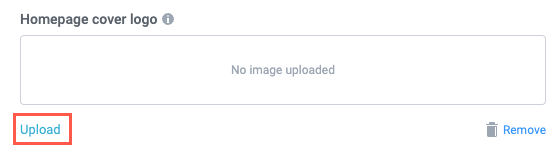
To upload a homepage cover logo, select Upload. The Upload Image window displays.
The homepage cover logo is a logo that only displays on the Tonkean homepage. The company logo configured in step #1 displays everywhere else.
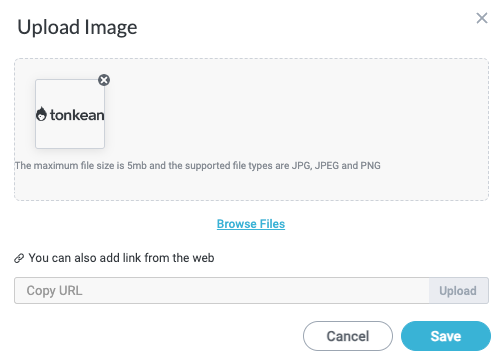
Select Browse Files to select an image from your local machine or paste in a web link, then select Save.
We recommend an image with a height of 80px.
Enter a Homepage title, if desired. This title displays above the search field.

Enter a Search placeholder, if desired. This displays in the search field before users enter a search value.

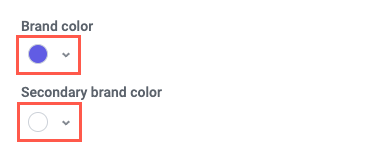
To set a brand color and secondary brand color, select the relevant dropdown and choose a color.
To set global colors, select the relevant dropdown to overwrite an existing color or select +Add Color to add another color to the global colors set. When a theme is applied globally, users are able to select only from provided global colors.
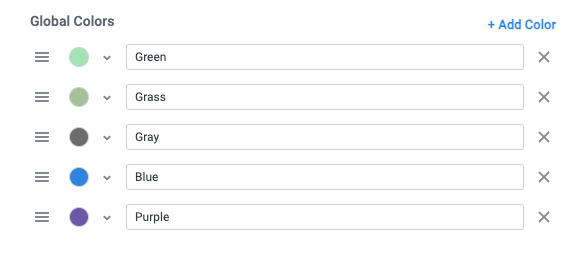
Select the order icon,
 , and drag the colors to reorder them in the set—this is the order they display in for users.
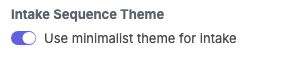
To enable the minimalist theme as your Intake Sequence Theme, select the toggle provided. The minimalist theme greatly simplifies the design of the intake sequence interfaces, providing a more modern, streamlined look.
Translations
Tonkean provides the ability to translate and localize process contributor-facing experiences. Leveraging the react-i18next standard, Tonkean's translation feature is powered by language and region-specific JSON files you can upload to support specific locales, or download to customize as needed.
In addition to left-to-right languages like Spanish and German, Tonkean also supports right-to-left languages like Arabic and Hebrew, as well as the localization of date and number formats.
Multi-language interactions in the AI Front Door and with agents are supported based on the capabilities of the integrated AI service (for example, OpenAI or Anthropic). In most cases, major languages like English, Spanish, and German are supported with high quality, whereas less common languages or regional variants may provide mixed results. We recommend additional testing for these use cases.
On the Board Settings | Translations screen, you can manage translations of end-user-facing interface elements like field labels, button text, and descriptions. This feature does not include translation of the solution-building experience for makers. These areas of the platform will always be in English. Similarly, notifications sent to shared channels (where the recipient's locale is unknown) are not localized.
The entire end-user experience can be localized to the user's native language, but the content entered into that experience will be in the language entered and will not be translated.
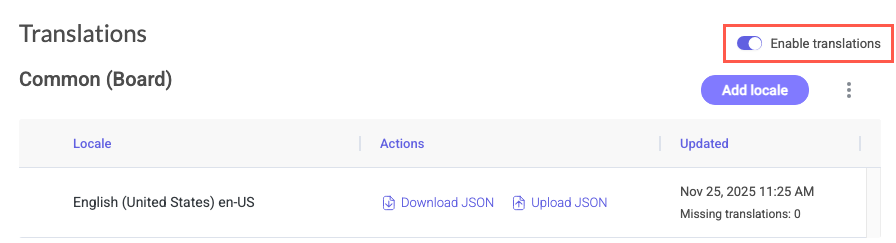
To enable translations on your board, select the Enable translations toggle.
Enabling translations automatically generates the Common (Board) resource file, which contains the strings shared by all solutions, such as button labels, instructional text, error messages, and homepage text. You only need to enable translations once. Because building solutions doesn't add board-level strings, you typically don't need to regenerate them. If you do, disable and re-enable the Enable translations toggle.
Add and Manage Locales
Locales are language and country-specific entities with associated JSON files containing translations of relevant text in your Tonkean solutions. For example, the locale for American English would be English (United States) with the resource file, en-US.json, while the locale for Australian English would be English (Australia) with the JSON file, en-AU.json. You control and update the translations for your solutions by managing these locales and their associated JSON files.
Relevant areas of the platform and your solutions are automatically localized and translated based on the Locale selected by the user on the Board Settings | Profile screen.
If a user hasn't selected a locale, Tonkean uses their browser locale when that locale exists for the solution they're viewing. If there's no match, the solution displays in English (United States). Any string without a translation in the user's locale also displays in English (United States), as defined in en-US.json.
Common and solution locales take effect in different environments:
Common (Board) - Uploads apply to both the Build and Production environments immediately. Common translations aren't published, so end users see changes as soon as the upload completes.
Solution - Uploads apply only to the solution's Build environment, so you can test translations before end users see them. Translations reach Production when you publish the solution. See Create a Solution Translation Version.
To download a locale's current resource file, select Download JSON next to the locale. To update an existing locale, select Upload JSON next to the locale and select the updated file. To add several locales at once, upload multiple files in the Add Locale window.
Each file name must include both a language and a region, for example, es-PR.json. Tonkean uses the file name to identify the locale and apply the correct date and number formats. Files named with only a language, such as es.json, are rejected.
Translate JSON Resource Files
You are responsible for the translation of your resource files. There are some free utilities available, such as this i18next translation tool, as well as paid services like locize. We recommend using an enterprise-grade Translation Management System, such as Lokalise, Crowdin, or Smartling, which are optimized for i18next and have powerful features such as workflow management, translation memory, and automations.
For each locale you want to translate, you must create a specific resource file following the i18next naming conventions; that is, de-DE.json, es-MX.json, zh-CN.json, and so on. Tonkean requires both the language and locale to display the appropriate date and number formats. For more information about language codes, see this i18next FAQ. Iana also provides a list of language tags.
The en-US.json file is the source for every other locale, because the solution-building experience is in English. Each time a maker creates a solution translation version, new strings are added to that solution’s en-US.json file. If you use a TMS, upload this file to it.
Resource files are made up of key-value pairs. Each key identifies a text string, and each value is the text displayed for that locale. Translators change only the values.
You can also edit resource files in a text editor. This works for small corrections to an existing locale, but makes it difficult to identify newly added strings in later rounds of translation.
Tonkean can also generate a first-pass translation for you to review. See Use Machine Translation.
Use Machine Translation
Tonkean can generate a first-pass translation of your resource files using machine translation. This gives translators a baseline to review and correct, rather than translating every string from scratch. You remain responsible for the accuracy of published translations.
Machine translation isn't available as a setting on the Board Settings | Translations screen. To have it enabled on your board, contact your customer success manager or, if engaged with one, your Implementation Architect.
Machine translation always uses en-US.json as the source and translates into each locale you've added. Placeholders in double curly braces, such as {{...}}, aren't translated, so they continue to resolve to their correct values.
Once enabled, machine translation runs automatically:
When you add or upload a locale (Common or solution) - Keys missing from that locale's resource file are translated. Keys that already have values are kept.
When a maker creates a solution translation version - The solution's
en-US.jsonfile is regenerated. In each existing locale, new keys are translated and keys whose English text has changed are re-translated. Unchanged strings, including strings you've already reviewed, aren't modified.
To create a new locale using machine translation, follow the steps below:
Make sure your source strings exist. Common strings are generated when you enable translations. Solution strings are generated when a maker creates a solution translation version.
Create a resource file containing only
{}, named for the target locale (for example,es-PR.json).Add the file as a new locale. See Add and Manage Common (Board) Locales or Add and Manage Solution Locales. Machine translation fills in the missing keys.
Select Download JSON for the locale and review the translations in your TMS or a text editor. Correct terminology and tone, and restore any strings that should remain in English.
Select Upload JSON to upload the reviewed file. Reviewed strings aren't overwritten unless their English text changes in a later translation version.
For solution locales, test the translations and publish them to Production. See Create a Solution Translation Version
Keep the following in mind when using machine translation:
Machine-translated Common (Board) strings are visible to end users in Production as soon as the locale is added, before you review them.
If English text in a solution changes and a maker creates a new translation version, machine translation replaces the existing translation of those strings, even in locales already published to Production. Review those strings again.
Very long strings may be skipped and remain in English. After a first-pass translation, download the file and check for untranslated strings.
The missing translations count on the Board Settings | Translations screen shows keys that still need a value. After machine translation runs, treat any remaining gaps as review items.
Machine translation provides a first draft and doesn't replace a TMS, which offers translation memory and translator workflow management.
Add and Manage Common (Board) Locales
Common locales control the translations for all common experiences at the board level, including text on the homepage, board-level settings screens, menus, and so on. The US English locale is set as the default for the common level.
Uploads to Common locales take effect in both Build and Production immediately. You can't preview Common translations before end users see them, so review resource files carefully before uploading.
To add a locale, follow the steps below:
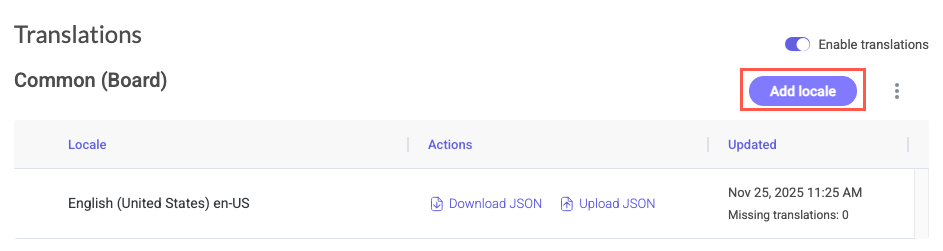
Select Add locale in the upper right. The Add Locale window displays.
Select Browse Files to select a file, or drag and drop a resource JSON file from your local machine, then select Save.
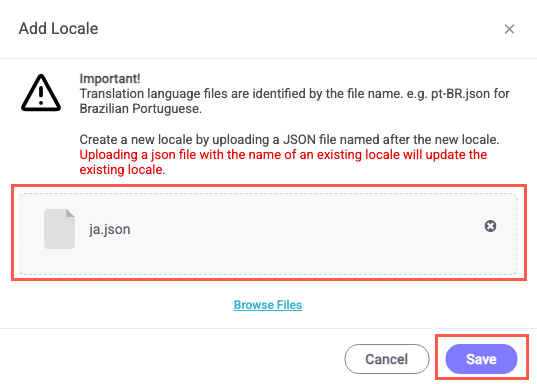
Your new locale is added with its associated resource file and is immediately available to end users. To view it, navigate to your Profile and select the locale.
Add and Manage Solution Locales
Solution versions control the translations for all solution-level text, including field labels, interface text, button text, and so on. Makers in the relevant solution can create a solution translation version, which generates a default resource file for the solution in a base language.
To generate a solution's en-US.json file, a maker selects Create translation version in the solution publishing window instead of continuing to publish. See Create a Solution Translation Version. This file is the foundation for creating additional locales described below.
For example, a translation version and accompanying locale for English (United States) was made for the Tonkean Maker Course solution:

Once you have translated the en-US.json file into the desired languages (e.g., de-DE.json, zh-CN.json), it's time to add those translated JSON files to the solution as new locales. To create a new locale from this default resource file, follow the steps below:
Select Add locale in the upper right. The Add Locale window displays.

Select Browse Files to select a file, or drag and drop a resource JSON file from your local machine, then select Save.
Your new locale is added with its associated resource file, and you can test it by navigating to your Profile and toggling your locale to the one you added.