When Form Answered
The When Form Answered action allows you to define module logic following the submission of a form by a user. This action is available only after a Form Filled trigger activates.
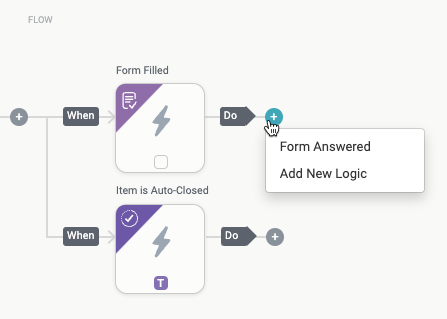
To add a When Form Answered action, select the plus icon,  , after a Form Filled trigger. A dropdown displays that provides two options: Form Answered and Add Logic. Select Form Answered. The When Form Answered action block is created.
Name the Action Block
Select the action title or the edit icon,  , and provide a descriptive title for the action.
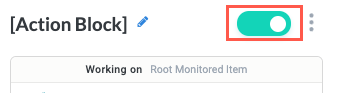
Turn Action Block On or Off
By default, action blocks are enabled and turned on. Select the toggle in the top right of the action panel to disable or turn it off.
When building a module, remember you can toggle actions on and off rather than deleting them.
Action Type
Select the type of action the form submission prompts.
Your selection in the Action Type field determines the configuration of the rest of the When Form Answered action. The action panel responds to your selection and displays new fields corresponding to your selected action type.
Open form
Open a form for the user to complete, allowing the module to gather needed information from the user that will inform additional steps in the workflow. Select an existing form or create a new form for the user to complete.
The Open form Action Type offers some additional options for configuring the follow-up form:
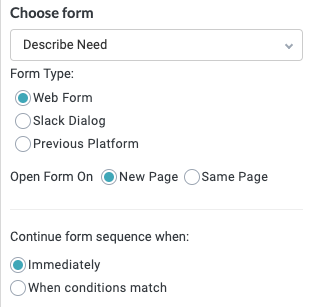
Choose form
Choose the form to send as a follow-up when the user submits the form. Select the Select Form dropdown to choose an existing form or create a new form.
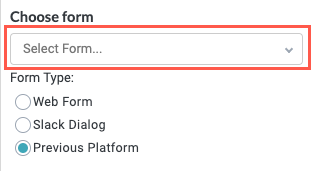
Next, select the Form Type:
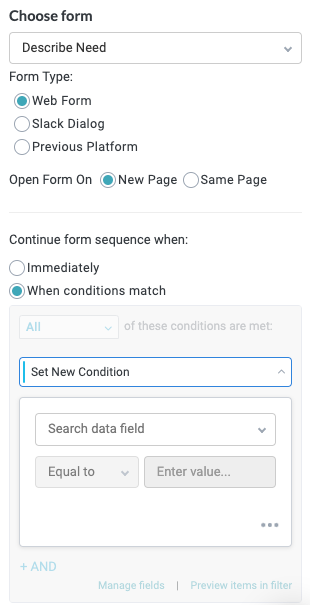
Web Form - Send the follow-up form as a web form. If you select this option, you can choose to send the form immediately following the submission of the previous form, or when specified conditions are met.
If you select When conditions match, a condition configuration section displays where you can define what conditions must be met to generate the follow-up form.
Additionally, you can add a wait message that displays for users before the follow-up form is sent. Enter the message in the Wait message field or select the insert field button,
 , to choose from existing fields.
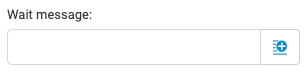
Slack Dialog - Send the follow-up form as a Slack message.
If you select this option, ensure you complete the Slack response message field to configure this response.
Previous Platform - Send the follow-up form using the same method as the previous form. That is, if the previous form is a web form, the follow-up is sent as a web form; if the previous form is sent as a Slack message, the follow-up is sent as a Slack message.
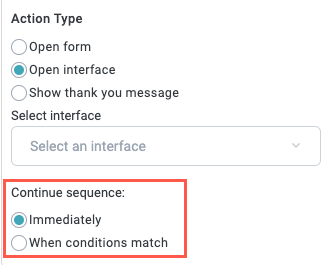
Open interface
Open an item interface for the user to view or interact with.
Select an interface to open:
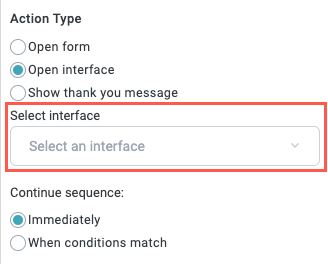
Determine whether to send the interface immediately or when specified conditions are met. If you select When conditions match, configure the condition group as needed.
Show thank you message
Show a thank you message that can provide users with additional information, redirect them to a specific URL, or allow them to send a reply.
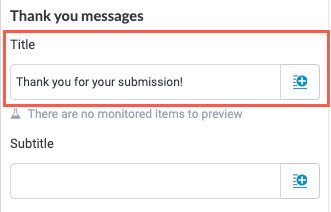
Thank you messages
Enter the Title, which is the primary thank you message. Enter free text or select the insert field button, , to insert a field from the module.
We recommend keeping the message clear and concise.
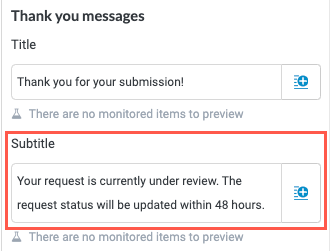
Enter a Subtitle, if desired, to provide additional information to the user.
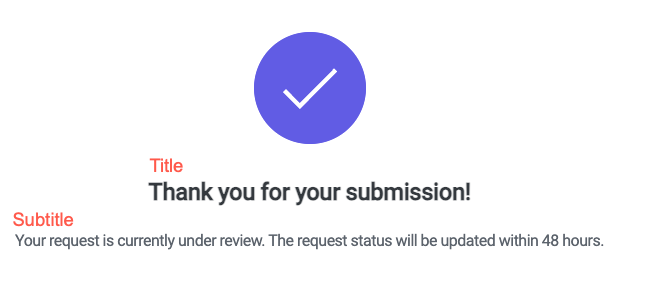
When complete, the Title and Subtitle display in the style below in the resulting message:
Web redirect options
In addition to displaying a thank you message, you can automatically redirect users to a specific URL, such as the URL of the request interface or a dedicated portal where the requester can get more information.
To set up a web redirect to accompany your thank you message, follow the steps below:
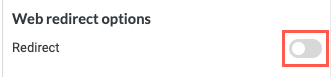
To set up a web redirect, turn on the Redirect toggle:
Turn on the Redirect toggle. The Web redirect options display.
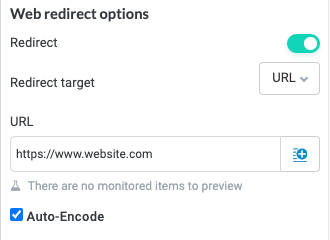
Select the Redirect target:
URL - Redirect the user to a specified URL. If selected, you have the option to auto-encode the values of the URL parameters.
Interface - Redirect the user to a specified item interface. The link to the interface displays as a button.
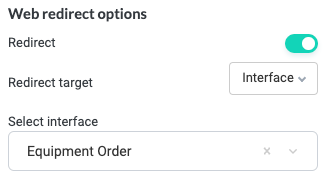
Add and customize the Redirect button label. Enter free text or select the insert field button,
, to add a module field.The Redirect button label field supports markdown formatting, allowing you to style your button.

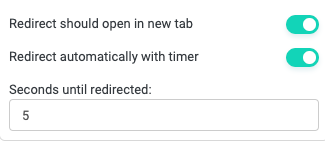
Select the additional options:
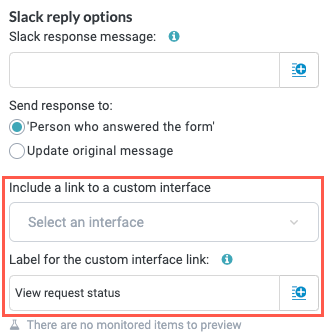
Slack reply options
Provide the reply that's generated when the user submits a form in Slack. Type into the field for short messages or hover over the field to display the Editor tab. In addition to rich text, select the Insert field button, , to include current fields, matched entities, flow items fields, or formula fields.
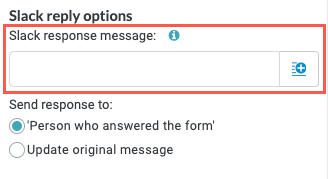
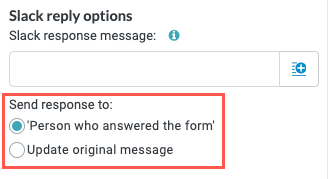
Select who to send the response to:
Person who answered the form - Send a Slack message to the user who submitted the form.
Update original message - Add a reply to the original Slack form.
Include a link to a custom interface, if desired. Customize the label for the interface link: