Interface Submitted
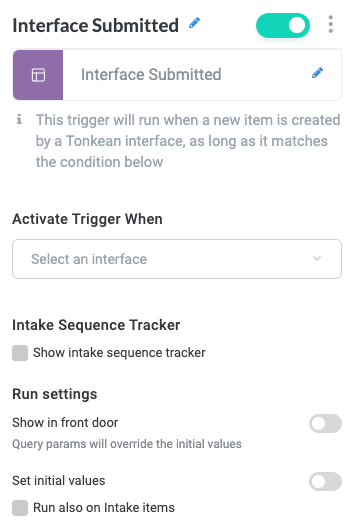
The Interface Submitted trigger activates when a selected Tonkean interface is submitted by a user. This trigger is generally the beginning of an interface-based intake experience.
The conditions available in this trigger are detailed in Conditions.
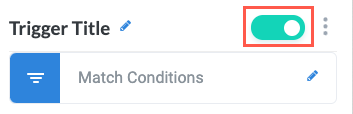
Name the Trigger
Select the trigger title or the edit icon,  , and provide a descriptive title for the trigger.
Turn Trigger Block On or Off
By default, trigger blocks are enabled and turned on. Select the toggle in the top right of the trigger panel to disable or turn it off.
When building a module, remember you can toggle triggers on and off rather than deleting them.
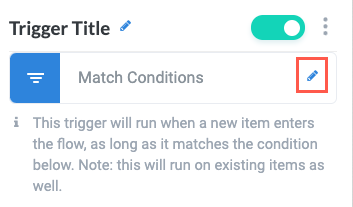
Change Trigger Type
To change the trigger type, select the edit icon, , and select the new trigger type from the Change Type To dropdown.
Activate Trigger When
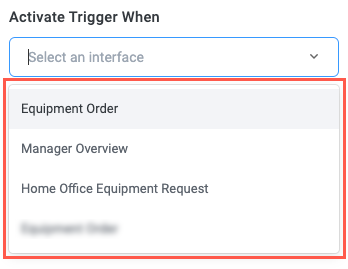
Select the dropdown and select an interface from the list provided.
Interfaces must already exist in your module to appear in this dropdown. For information about creating interfaces, see Create Custom Item Interfaces.
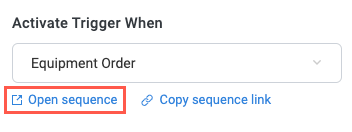
To open and view the sequence assigned to the trigger, select Open sequence. The interface opens in a new tab.
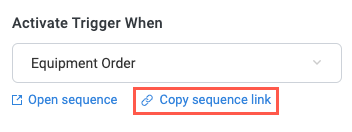
To share the link for the interface assigned to the trigger, select Copy sequence link. The sequence link is copied to the clipboard. You can include this link in other workflows or send it directly to relevant users.
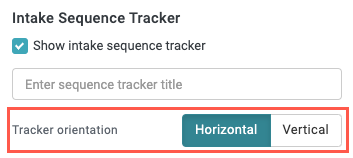
Intake Sequence
Select whether to display the intake sequence progress tracker for this trigger and its corresponding workflow logic.
To display the intake sequence progress tracker, select the checkbox. A field displays where you can add a title for the tracker.

Enter a title for the progress tracker in the field provided.
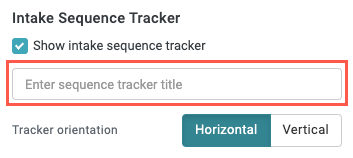
Select whether the progress tracker displays in a Horizontal or Vertical position.
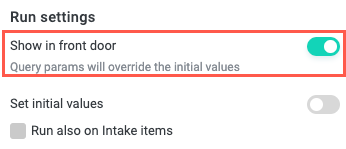
Run Settings
Select the relevant checkbox to enable the trigger to activate under various conditions.
Show in front door - Enable the interface sequence to display in the AI Front Door. When enabled, the interface displays in a dropdown of available actions in the input field of the AI Front Door. The interface and its related sequence can also be returned by the Front Door in response to a relevant query.
For example, if a user asks to order home office equipment, the Front Door will provide a link to the enabled Home Office Equipment Order interface. If the user provides values for fields in the interface through the Front Door, those values will override any initial values set in the Set initial values configuration option.
You must have the AI Front Door enabled to see this option.
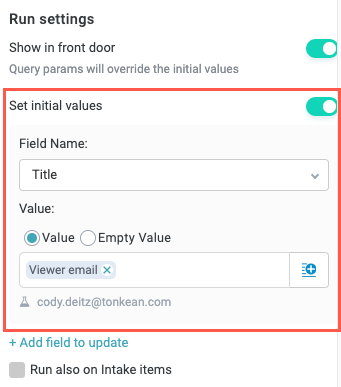
Set initial values - Set values for select fields as the item is created. Because this option sets field values before the item is finalized, the number of fields you can set initial values for is limited. One recommended use case for this option is to set a field value to the basic fields Viewer name or Viewer email, capturing the basic information for the user filling out the interface.
Select + Add field to update to include another field.
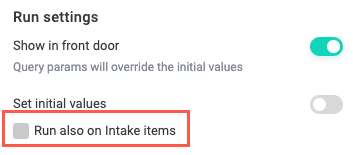
Run also on intake items - Set the trigger and its corresponding workflow logic to run on items with an intake status.