Connect Ping Identity (SCIM)
Admins can leverage Ping Identity to provision users and assign roles in Tonkean using the Tonkean SCIM API. To connect and configure Ping Identity for user provisioning, follow the process below.
Set Up SCIM Provisioning using Ping Identity
Tonkean uses SCIM protocol to provision and de-provision users using Ping Identity. To configure SCIM with Tonkean and your Ping Identity instance, follow the steps below:
Add Identity Provider and Generate API Token in Tonkean
First, add Ping Identity as an identity provider in Tonkean and generate an API token to use with the SCIM integration.
To generate an API token, open your Tonkean board, select your profile icon in the upper right, and navigate to Board Settings > Identity Provider. Select Create New Provider. The Create New Provider window displays.
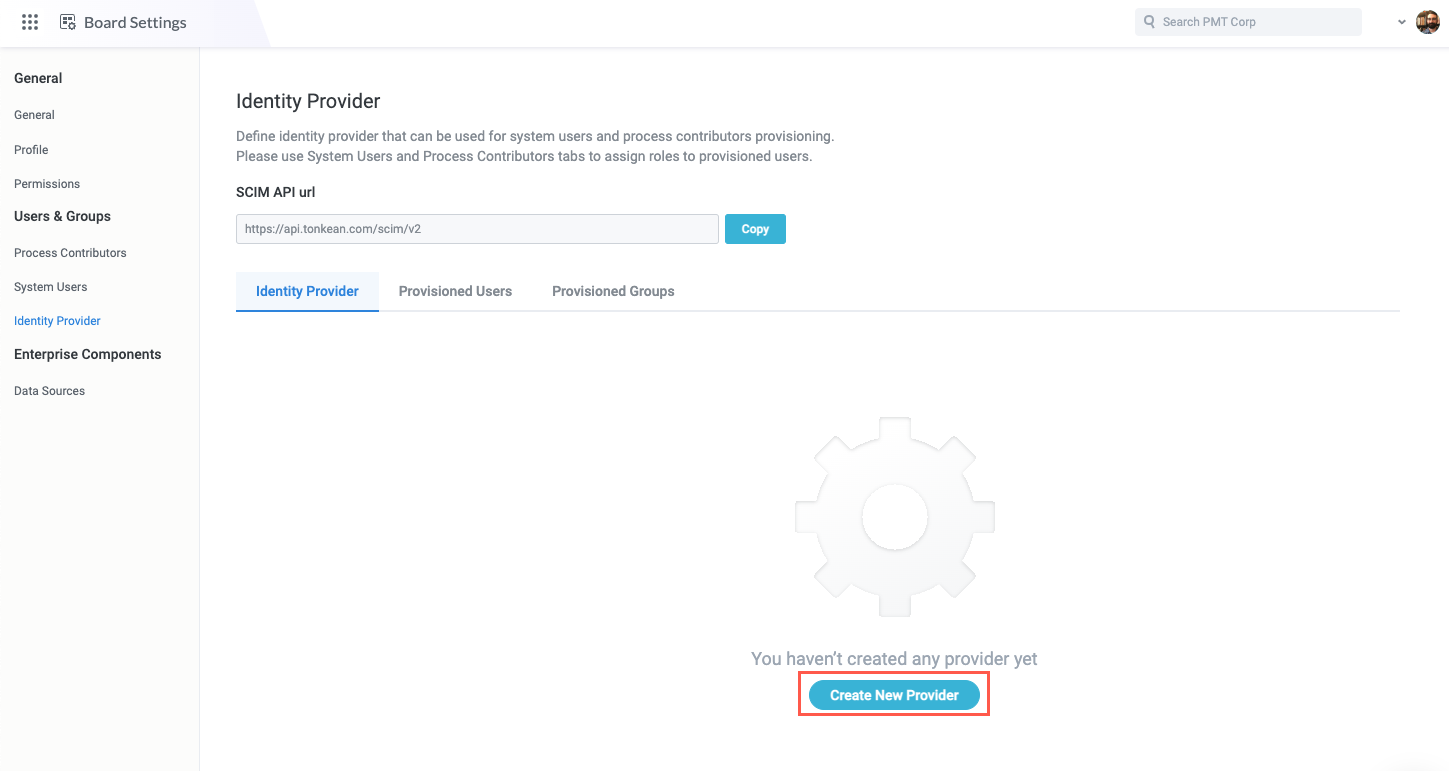
Locate the SCIM API url and select Copy. Paste this URL into a separate document for later use.

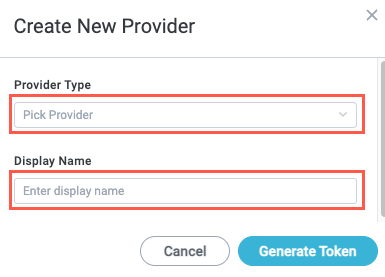
Select the Provider Type dropdown and choose Ping Identity. Then, enter a Display Name for the provider. When finished, select Generate Token. The Access Token displays.
Select Copy to copy the access token. Paste the token in a separate file.
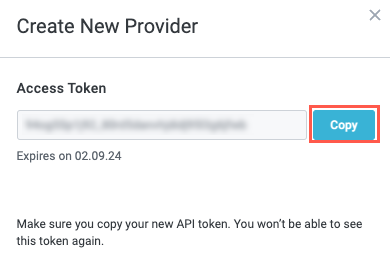
This is the last time you'll be able to view the decrypted token, so make sure you save it somewhere safe in case you need to reference it later.
Add User Attributes in Ping Identity
Next, set up user attributes in Ping Identity.
Navigate to the Ping Identity console and log in as an administrator.
In the navigation bar, select Directory > User Attributes. The Attributes screen displays.
Select the plus button beside the screen header to add a new attribute. The Add Attribute panel displays.
Select the Declared option. The attribute configuration fields display.
Assign the attribute Name:
tonkeanRoles.In the bottom dropdown field (default No Validation), select Enumerated Values. Additional value fields display.
Add the following values, selecting + Add Value to enter more beyond the first:
PROCESS_CONTRIBUTORSYSTEM_USERSYSTEM_USER,PROCESS_CONTRIBUTOR
When finished, select Save. Your attributes have been added.
Configure the SCIM Integration
Finally, set up a new SCIM integration.
As an additional reference, see Create a SCIM connection in the Ping Identity documentation.
In the Ping Identity console navigation bar, navigate to Integrations > Provisioning. The Provisioning screen displays.
Select the plus button near the heading to add a new connection. The Create a New Connection panel displays.
Select the Identity Store option. Connection options display.
Locate and select the SCIM Outbound tile, then select Next.
Enter a Name for the SCIM connection, then select Next.
In the SCIM BASE URL field, enter the SCIM API url provided in Tonkean on the Identity Provider screen.
The SCIM API url is in the format
https://{env}.tonkean.com/scim/v2Set Authentication Method to OAuth 2 Bearer Token, then set Oauth Access Token to the token value you generated in Tonkean on the Identity Provider screen. When finished, select Next.
Set Custom Attribute Schema URNs to
urn:ietf:params:scim:schemas:extension:enterprise,urn:scim:tonkean, then select Save.Return to the Provisioning screen, select the plus button near the heading, and select New Rule. The Create a New Rule panel displays.
Enter a Name for the rule, then select Create Rule. The {Rule} Configuration tab displays.
Select Target and then select the plus button for the SCIM connection you created in steps #1-8 in this section. When finished, select Save.
In the User Filter section, configure the identities to provision in the sync. No special configuration is required specifically for Tonkean in this step.
When finished specifying which identities to provision, select Attribute Mapping on the {Rule} panel. The Attribute Mapping section displays.
Select the Attribute Mapping edit button to enter edit mode.
Select the + Add button to add a new attribute. A pair of empty attribute fields display.
In the left field, select the tonkeanRoles attribute you created previously; in the right field, select custom:Tonkean.
When finished, select Save.
The SCIM integration is complete and the users you selected are synced with Tonkean. They can now sign in to Tonkean using Ping Identity.