Configure Ping Identity OpenId Connect (OIDC)
To configure user authentication with Ping Identity using OpenID Connect (OIDC), follow the steps below:
As an additional reference, see Adding an application in the Ping Identity documentation.
Navigate to the Ping Identity console and log in as an administrator.
In the navigation bar, select Applications. On the Applications page, create a new application.
Enter a Name for the application (for example, "Tonkean"), and for Application Type, select OIDC Web App, then select Save.
Select the application Configuration tab, enter Edit mode, and configure the application fields as detailed below, then select Save:
Response Type: Code
Grant Type: Authorization Code
Redirect URIs:
<appUrl>/oauth.htmlFor multi-tenant Tonkean instances in the US region, enter
https://tracks.tonkean.com/oauth.htmlToken Endpoint Authentication Method: Client Secret Post
On the application Resources tab, enter Edit mode, and select the following scopes, then select Save:
email
openid
profile
On the application Attribute Mappings tab, enter Edit mode, and map the following attributes as detailed below, then select Save:
sub: User ID
emailVerified: Email Verified
You may need to add this attribute.
On the application Overview tab, copy and save the following URLs in a separate location (you will need these to configure authentication on the Tonkean side):
Client ID
Client Secret
Authorization URL
Set Ping Identity as Your Preferred Authentication Method
Open a separate browser tab or window and there, navigate to Tonkean.
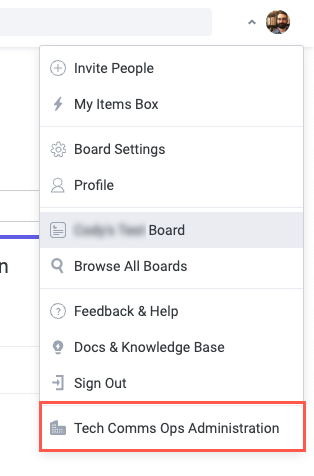
In Tonkean, select your profile icon in the upper right.
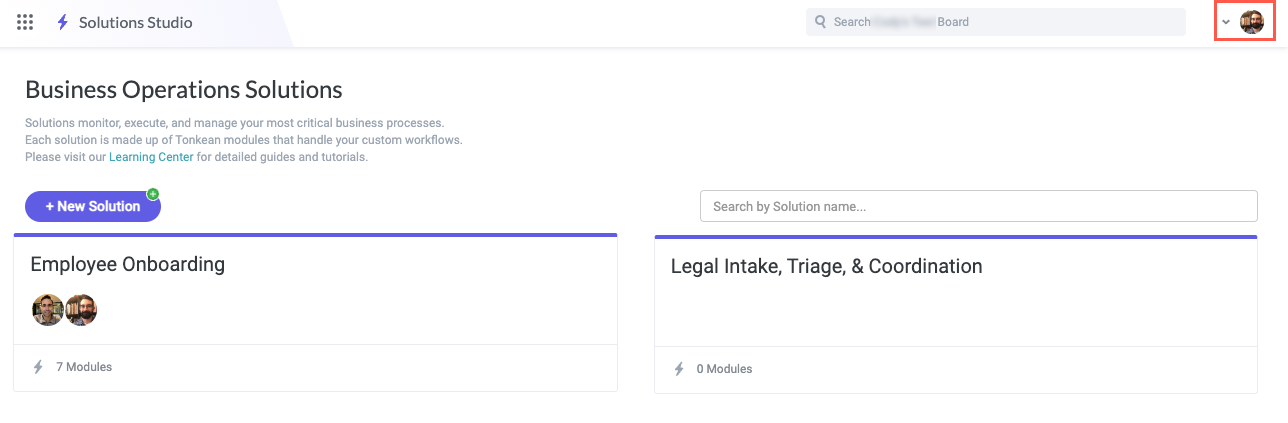
Select the <Enterprise Name> Administration in the dropdown. The Enterprise Administration screen displays.
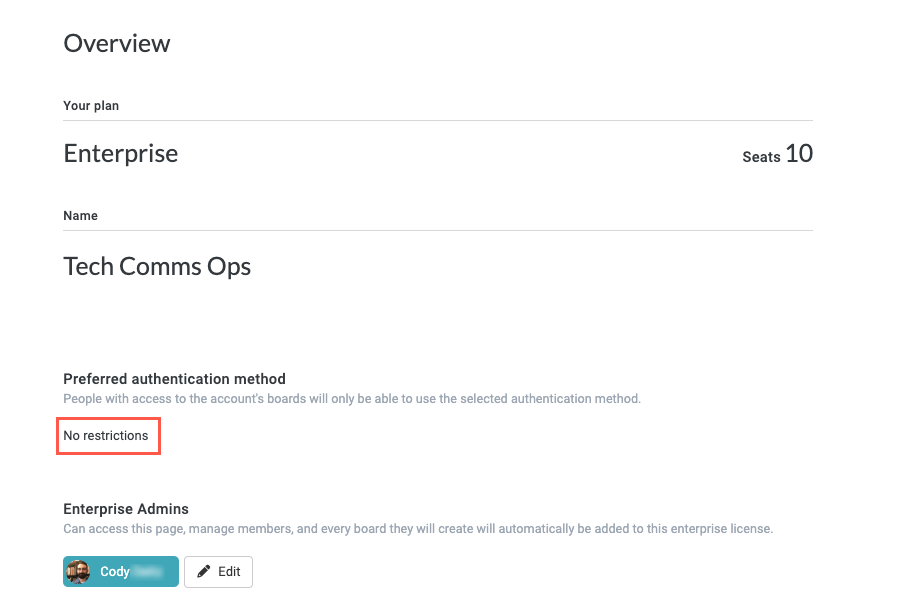
Locate the Preferred authentication method section and select No restrictions.
Select Authenticate with, then select Ping Identity from the dropdown. Ping Identity authentication fields display.
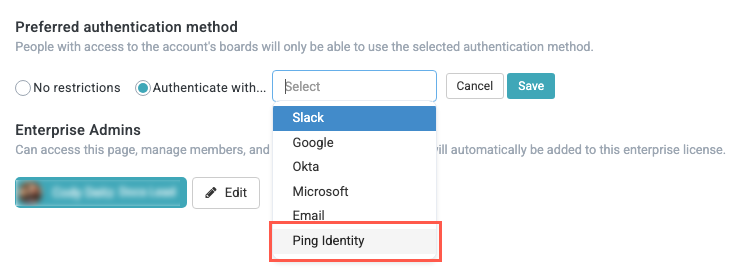
Enter the following values saved from Ping Identity:
Authorization URL
Client ID
Client Secret
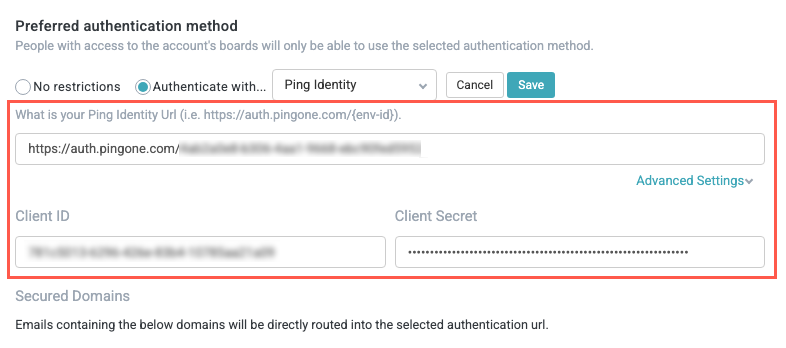
When finished, select Save. The Ping Identity authentication fields close.
Setup for Ping Identity using OpenId Connect is complete.